Whether celebrating an occasion, spoiling yourself, or showing appreciation, chocolates are always appreciated. Building your box is the best way to make a chocolate gift even more remarkable.
Think about the person you are giving the chocolates to and consider their personal preferences. Also, take any dietary restrictions or allergies into account.
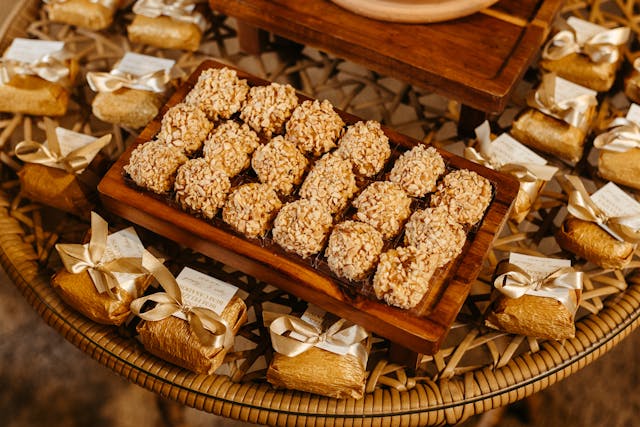
Choose Your Favorite Chocolates
Chocolate gift boxes are a simple and inexpensive way to show someone you care about them. They can make any day special and are especially great for holidays and other celebrations.
When selecting chocolates to include in your build you own chocolate box, it’s essential to consider the recipient’s taste preferences. For example, if you know they like dark chocolate, you should get them a bar instead of milk chocolate.
Additionally, different types of chocolates appeal to different personalities. For instance, traditional people like peppermint filling, and creative types often go for fruity flavors.
Print Your Template
When giving chocolates as a gift, you want to make the box a particular part of the experience. Rather than just using the original packaging, making your custom box will add extra joy for the person you’re giving it to.
When you print your template, select “Actual Size” in the sizing options. It will give you a true-to-life printed sheet with trim marks so you know where to cut.
The next step is to cut out your shapes. You can use paper scissors or a ruler and bone folder. You can use the bone folder to run it over the fold marks on the paper.
Cut Out the Shapes
Once you’ve printed your template and cut it out, carefully trim the curved lines that connect box sections. Using a utility knife results in cleaner lines but is more complex than trimming the edges with scissors.
Next, roll some pink gum paste or fondant on a cornstarch-dusted surface and use a heart cutter to create the shape of your box. If you want to give your chocolate box a more sophisticated look, hand-paint a design over the top or write a message with edible glitter. You can also add ribbon or trim for a finishing touch!
Glue the Shapes
Use a paper mache heart box for this box. It’s perfectly shaped for a box of chocolates and doesn’t require much cutting, construction, or carefully lining up edges to glue them together, like in tutorials using cube-like boxes.
Paint the box your chosen color. You only need to paint the sides since we’ll cover the top with fabric.
Cut a strip of fabric about 1/8 inch wider than the base and stick it to the base with glue. Let it dry completely before moving on. Repeat for the other side of the box. Once it’s dry, trim off any excess strip for a neat finish.
Wrap the Box
Chocolates are great for any occasion, from romantic Valentine’s Day gifts to holiday treats and party bags. Adding a personal touch to the packaging is one of the best ways to take your gift to the next level.
If you’re shipping your chocolates, use a box with ample padding and bubble wrap. Also, consider adding a gel pack or dry ice to keep the chocolates cold during shipping. It will help your chocolates last longer and prevent them from melting.

Fill the Box
Chocolate is an excellent gift for special occasions or any time of year. When choosing the types of chocolate to include in a box, consider the person’s personal preferences and any dietary restrictions.
For example, choose heart-shaped chocolates and other romantic treats if you’re making a box for Valentine’s Day. If you are making a box of chocolates for someone you know, it’s best to stick to classic flavors like milk or dark chocolate. After melting the chocolate, pour it carefully into the molds, ensuring no imperfections. Then refrigerate the molds to let the chocolate set.


